Bridges: Adding External Adapters to Nodes
You can add external adapters to a Chainlink node by creating a bridge in the Node Operators Interface. Each bridge must have a unique name and a URL for the external adapter. If a job has a Bridge Task, the node searches for a bridge by name and uses that bridge as your external adapter. Bridge names are case insensitive.
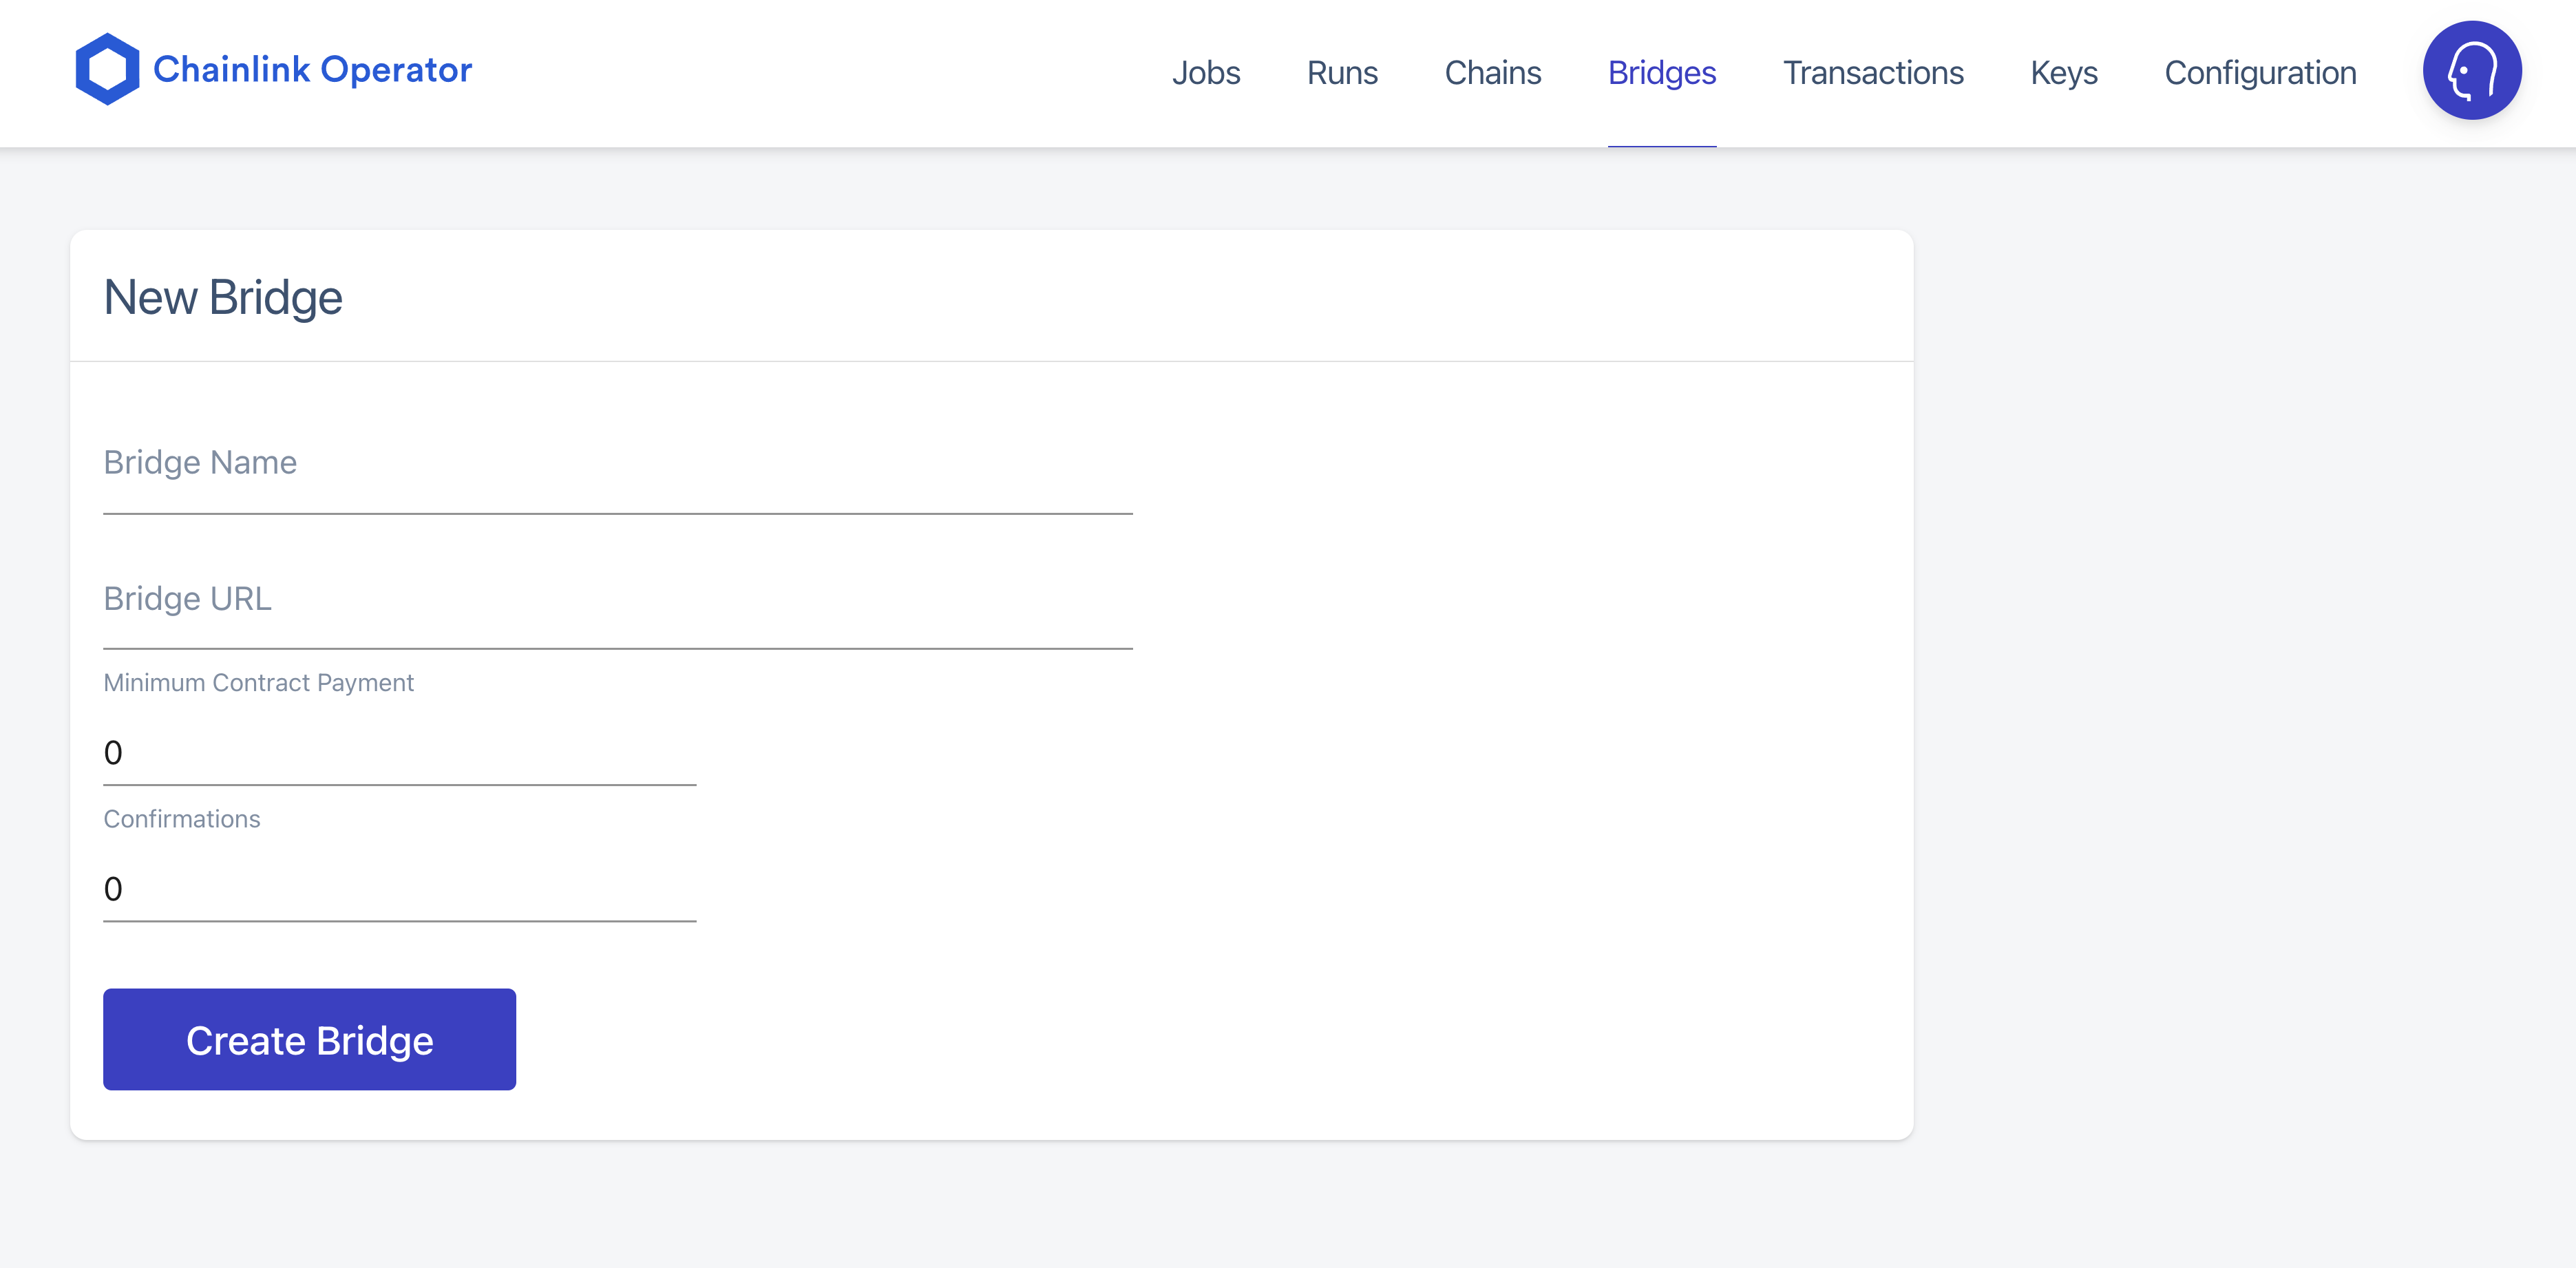
To create a bridge on the node, go to the Create Bridge tab in the Node Operators Interface. Specify a name for the bridge, the URL for your external adapter, and optionally specify the minimum contract payment and number of confirmations for the bridge. Minimum contract payment is a fee paid in LINK for the Chainlink node making a call to the external adapter via the bridge. This fee is in addition to the fee specified at the global node level for processing job requests.

The bridge name must be unique to the local node. The bridge URL is the URL of your external adapter, which can be local or on a separate machine.
To add jobs that use the bridge, add a Bridge Task to your job. The bridge task defined in the example below is defined as fetch and the name of the bridge is soccer-data.
type = "directrequest"
schemaVersion = 1
name = "Soccer-Data-EA"
contractAddress = "0xA74F1E1Bb6204B9397Dac33AE970E68F8aBC7651"
maxTaskDuration = "0s"
observationSource = """
    decode_log   [type=ethabidecodelog
                  abi="OracleRequest(bytes32 indexed specId, address requester, bytes32 requestId, uint256 payment, address callbackAddr, bytes4 callbackFunctionId, uint256 cancelExpiration, uint256 dataVersion, bytes data)"
                  data="$(jobRun.logData)"
                  topics="$(jobRun.logTopics)"]

    decode_cbor  [type=cborparse data="$(decode_log.data)"]
    fetch        [type=bridge name="soccer-data" requestData="{\\"id\\": $(jobSpec.externalJobID), \\"data\\": { \\"playerId\\": $(decode_cbor.playerId)}}"]
    parse        [type=jsonparse path="data,0,Games" data="$(fetch)"]
    encode_data  [type=ethabiencode abi="(uint256 value)" data="{ \\"value\\": $(parse) }"]
    encode_tx    [type=ethabiencode
                  abi="fulfillOracleRequest(bytes32 requestId, uint256 payment, address callbackAddress, bytes4 callbackFunctionId, uint256 expiration, bytes32 data)"
                  data="{\\"requestId\\": $(decode_log.requestId), \\"payment\\": $(decode_log.payment), \\"callbackAddress\\": $(decode_log.callbackAddr), \\"callbackFunctionId\\": $(decode_log.callbackFunctionId), \\"expiration\\": $(decode_log.cancelExpiration), \\"data\\": $(encode_data)}"
                 ]
    submit_tx    [type=ethtx to="0xA74F1E1Bb6204B9397Dac33AE970E68F8aBC7651" data="$(encode_tx)"]

    decode_log -> decode_cbor -> fetch -> parse -> encode_data -> encode_tx -> submit_tx
"""
Since soccer-data is a bridge task, each node that has this job defined needs to have a bridge defined with the name soccer-data in order to successfully fulfill the request.
Testing External Adapters and Bridges
The easiest way to test if your external adapter is working is to use a Webhook Job.
As an example, assume you have an external adapter named soccer-data that is registered in the bridges section and it takes one parameter named playerId. In solidity, you would pass the parameter with the following request:
request.add("playerId","12345678")How can you test the adapter on your node?
The easiest way is to setup a Webhook Job that uses the external adapter, and manually set the parameter.
type = "webhook"
schemaVersion = 1
name = "Soccer-Data-EA-Web"
observationSource = """
fetch        [type=bridge name="soccer-data" requestData="{\\"id\\": \\"0\\", \\"data\\": { \\"playerId\\": \\"12345678\\"}}"]

    fetch
"""
Adding the following into the TOML spec manually sets the parameters passed into the bridge task. It is equivalent to using request.add as shown above or adding the data with the --d flag if you're using curl.
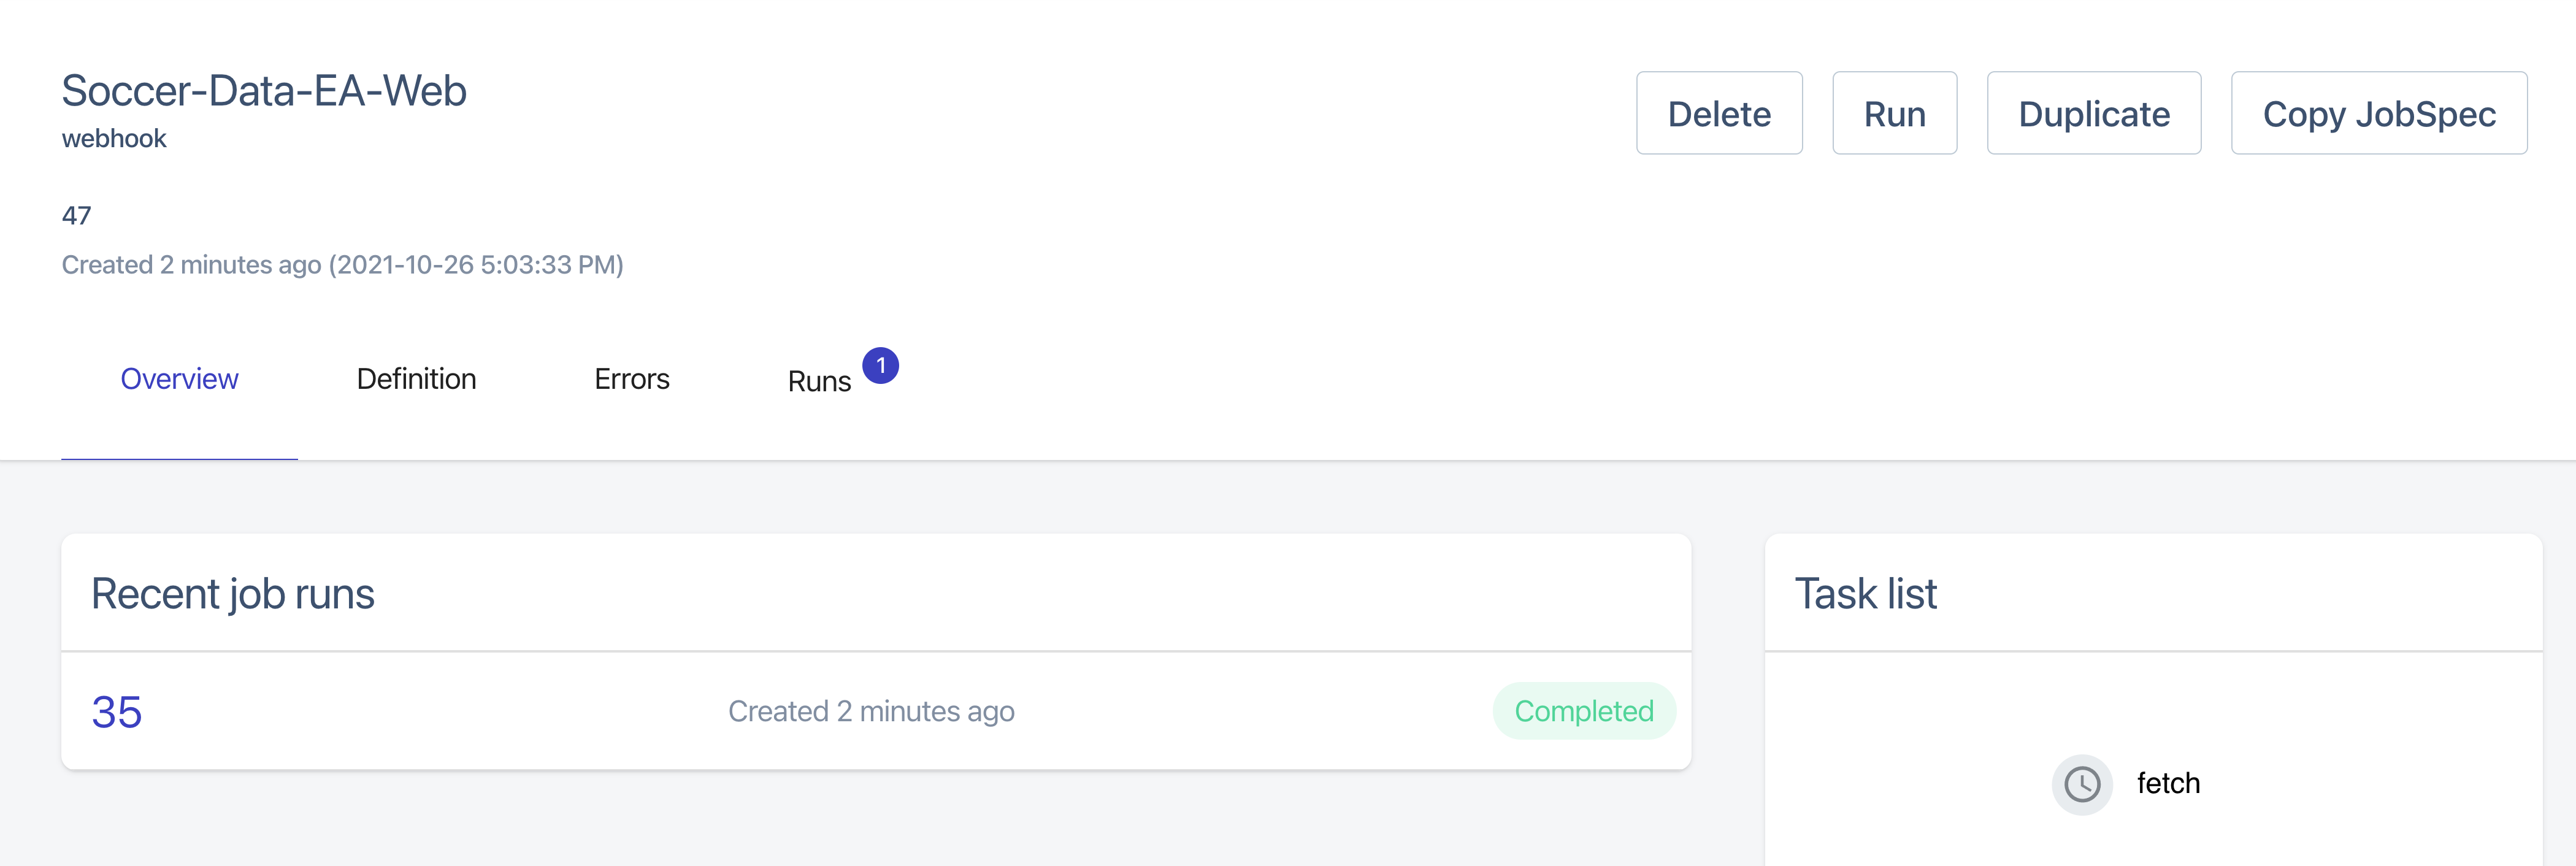
requestData="{\\"id\\": \\"0\\", \\"data\\": { \\"playerId\\": \\"12345678\\"}}"There will be a big Run button on your job definition, which you can use to kick off the job.

